Apple added an Emergency SOS feature in iOS 11. It provides a very cool and useful function by design, and also gives you a very easy way to quickly disable Touch ID or Face ID authentication.
Emergency SOS

The Emergency SOS feature is designed to provide quick access to critical medical information and a way to contact emergency services. You can activate the Emergency SOS feature on an iPhone 7 or earlier model by pushing the power button repeatedly five times. On an iPhone 8 or iPhone X, you squeeze the sides of the device–simultaneously holding the power button and either of the volume buttons.
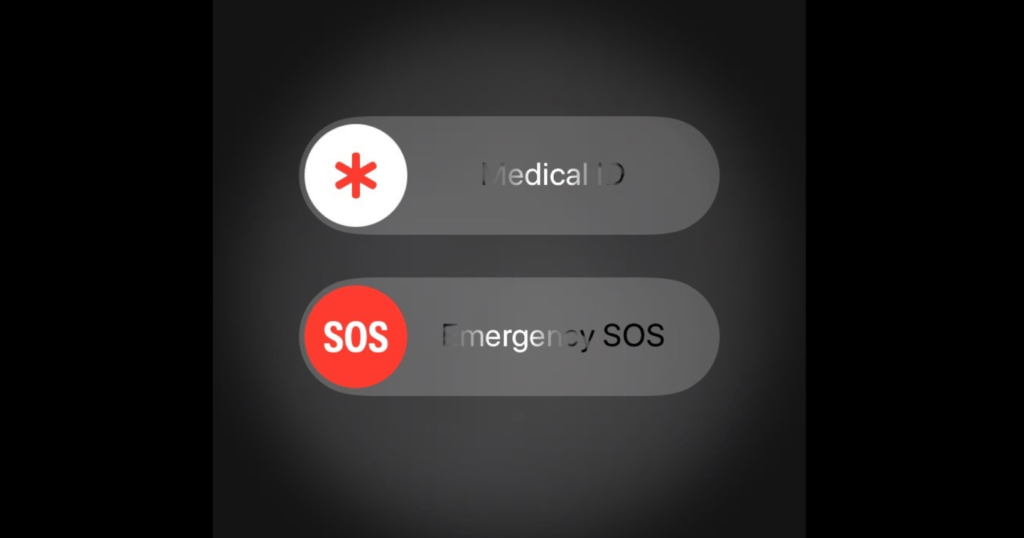
When you do so, a special Emergency SOS lock screen will appear. You can swipe the top to power off the device. If you have configured your personal information in settings for Medical ID in the Health app, that information will be accessible here. At the bottom is a red “SOS” that you can swipe to immediately call 911 and contact emergency services.
Once you’re done with your call to emergency services, the Emergency SOS feature will also automatically send an SMS notification to individuals listed as your emergency contacts in Medical ID.
You can actually eliminate a step and jump straight to calling emergency services if you configure the settings for Emergency SOS to Auto Call. When this setting is enabled, activating Emergency SOS will sound an alarm and start a countdown timer. If you don’t intervene and cancel the process before the countdown completes, the device will automatically initiate a call to emergency services.
In my opinion, the coolest part about this is the fact that the Medical ID information is accessible when activating Emergency SOS. That means that if you pass out or are in some sort of medical distress, a complete stranger can access that crucial information and figure out who your emergency contacts are without needing to know your passcode. They can just activate Emergency SOS and access the information.
Disable Touch ID or Face ID
There is one other thing that happens when you activate Emergency SOS—it temporarily disables Touch ID or Face ID authentication.
You don’t have to do anything to re-enable Touch ID or Face ID. As soon as you log in using your passcode, the feature is automatically re-enabled, just like how you have to physically log in with your passcode after the device reboots.
Why is this awesome? Frankly, it seems to me that Emergency SOS will be used to quickly disable Touch ID or Face ID far more frequently than it will be used for actual emergencies. The idea behind Emergency SOS is to streamline the process of summoning law enforcement if you need assistance, but the ability to shut down Touch ID or Face ID with a few taps is a feature you’re more likely to use when law enforcement shows up uninvited.
Courts have ruled in favor of law enforcement officers being allowed to compel someone to unlock their mobile device with a fingerprint. That may be even easier with Face ID. With those features deactivated, however, authorities would need your passcode—and there is no reason you need to volunteer that information.
The FBI has demonstrated that it’s possible for law enforcement to bypass encryption on a smartphone—even on an iPhone—to access information without the passcode if they’re motivated enough. That doesn’t mean you need to make it easier.
If you are stopped by a police officer, or going through some sort of customs or border checkpoint, you might want to go ahead and activate Emergency SOS to disable Touch ID or Face ID until you are safely beyond that encounter.
- Key Insights from Coalition’s 2024 Cyber Claims Report - April 24, 2024
- Unpacking the Marketing Challenges of Small Businesses in 2024 - April 23, 2024
- Navigating the Rising Tide of Phishing and BEC Threats - April 23, 2024


Comments are closed.