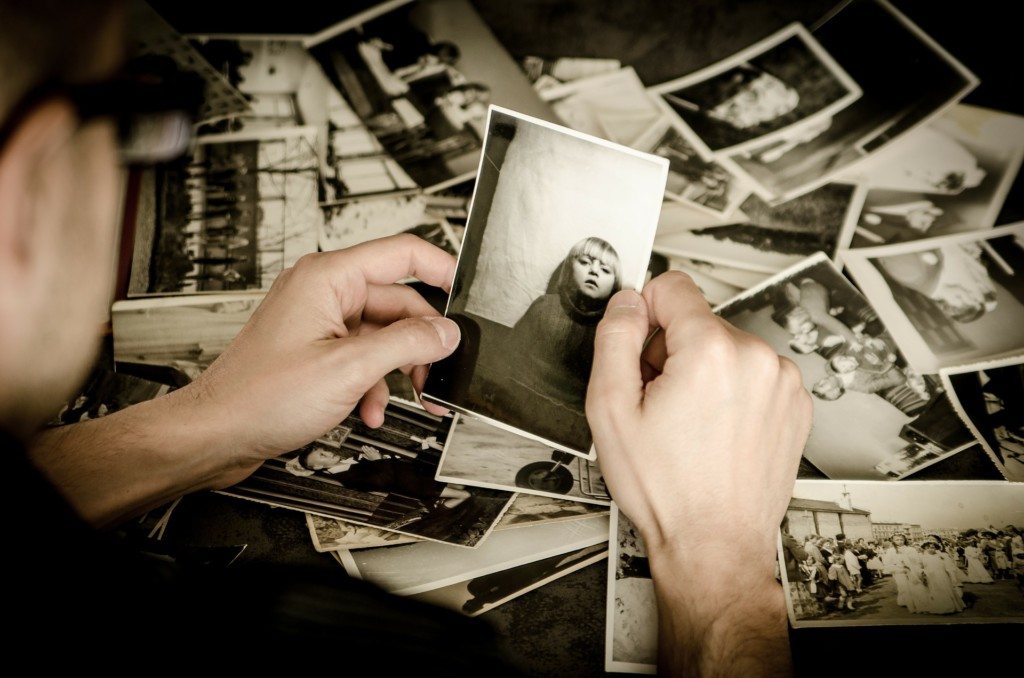
We’ve all come across some old photos that we want to save, but are badly damaged due to time and or accidents from long ago. Lucky for us, with new technology it’s never been easier to restore old photographs. To perform digital photo restoration, you’re going to need to get your hands on a program like Adobe Photoshop. For the sake of this guide I will be referencing specific tools and functions in Photoshop that will help restore pictures. If you can’t acquire a copy of Photoshop, you should be able to find similar tools in alternative programs.
Step 0: First Things First
Before starting your digital restoration, you’re going to need to make the image digital. To do this, simply scan the image into your computer with your home printer/scanner, or have the images scanned by a professional company to ensure maximum quality. For the sake of photo restoration, I would recommend having your images professionally scanned. Having the photos scanned with professional equipment at a higher resolution will offer you more pixels to work with in Photoshop while you digitally restore your photographs.
Once you have your images scanned and loaded onto your editing computer, you’re ready to get started.
Step 1: Color Balance
When we think of an old photograph, we usually picture it as a sepia colored portrait of two stoic individuals. Sepia has become the color palette associated with the past, but for modern memories it seems out of place. I know it’s hard to believe, but the past wasn’t actually sepia colored! It was full of all the shades and hues that we experience today, so the restored photographs should reflect this.
Now unless you’re a Photoshop wizard, which I am not, you’re not going to be able to fully recolor and restore your photos. However, you will be able to balance them and even out that sepia color to bring a more distinguished and modern look to the old photographs. To do this you’re going to need the help of the Curves Adjustment tool. Once opened you should see a graph with three eye droppers below. Select the darkest one, then click on the darkest area of the photo, this will establish what black should be in the photo. This should be the main adjustment you need if your photo is sepia colored, but if it’s black and white or colored; you will need to use the grey and white droppers as well. They work the same as the black dropper, so just click them and then click the area most associated with that color (brightest spot for white, grey area for grey). Now that the program knows what colors should be what, you can drag the line on the graph to make a slight S curve. This curve will give the photo some much needed contrast and color balancing. If you make the curve too extreme, you can always undo the adjustment or cancel and start again.
Step 2: Rips and Tears
Most old photographs are going to have at least one rip, tear, or fold on them. This is another problem that digital photo restoration is perfect for. The primary tool for these repairs is going to be the clone stamp tool. This tool will allow you to select and area and copy it. I highly recommend using a small brush size with a decent amount of feathering if you’re trying to fix an important detail like a crack or rip on a person’s face. This is going to be the most time intensive part of the process, but it is also the most important. Be patient, take your time, and do it right. Trust me, when it’s all done, and your photo looks great, you’ll be glad you took the time to work pixel by pixel. Just remember to breathe and take a break if you find yourself getting frustrated or zoning out. For the tool to work best, you’re going to need to change your clone sample as you work and try to avoid repetitive patterns. Work from the outside in, and don’t worry about going beyond the border of the photo. You’re almost done with your photo restoration!
Step 3: Cropping and Framing
After using the clone stamp tool, you probably have some excess pixels around your image, or perhaps the image had a messy border to start that you want to touch up. All you need to do is use the marquee tool and select the areas of the photo you want to keep. Once you have the area and border you want, inverse the selection and hit delete to remove everything outside of the area you want. You should now have a pretty well balanced, digitally restored photograph, with a clean-cut border. However, you probably have a couple little spots in the photo that need just a bit more touching up, and this is where the spot healing tool comes into play.
Step 4: Final Touches
Select the spot healing brush, this tool will read the area around it to make small repairs. This tool is what you want to use to remove dust, scratches, and smooth over smaller folds. This tool makes restoring photos super easy, but you need to zoom in close and work in small areas to get the best effect. There aren’t many shortcuts in photo restoration, so again, take your time. Diligently hit all the little spots you see, but be sure not to accidentally remove details of the actual photo.
And just like that your photo restoration is complete, it wasn’t too hard was it? Your final image should have balanced color and levels, a nice clean border, no more rips and tears, and no dust or scratches. Now you can apply this to any photo you have and perform your own digital photo restoration.
- Why You Should Switch from Microfiche and Microfilm to Digital - January 16, 2019
- Quick and Easy Photo Restoration Guide - December 12, 2017


Comments are closed.